Star Hopping Your Way Through the Messier Catalogue
The finder-chart skill that GoTo mounts quietly took away, a worked hop to M13 step by step, and how to see more in a grey smudge than you thought was there.
Charles Messier was not building a bucket list. He was a comet hunter working in Paris in the 1770s, and he was tired of repeatedly re-examining the same fuzzy patches of sky only to confirm they were not the comet he was looking for. His catalogue of 110 objects is, in origin, a list of annoyances — things that look like comets and are not. Two and a half centuries later it has become the standard first tour of the deep sky, largely by accident.
That accident turned out well. Because Messier worked with a small refractor from a city, almost everything on his list is within reach of modest modern equipment from an ordinary back garden. The catalogue spans globular clusters, open clusters, planetary nebulae, emission nebulae, galaxies, and a couple of oddities that turned out to be asterisms or a double star. Working through it is a compressed education in what actually lives out there.
Why star hopping still beats GoTo
A computerised mount will slew to M13 in fifteen seconds, and there is nothing wrong with that. But something is lost: after a hundred GoTo sessions you know a hundred objects and still cannot find your way around the sky, because the mount did the finding. Star hopping — navigating from a bright naked-eye star through progressively fainter patterns to your target — builds an internal map that stays with you permanently and works with any instrument, including borrowed ones.
It is also robust. No batteries, no alignment procedure that fails when your first alignment star is behind a tree, no firmware quirks at two in the morning. Experienced hoppers routinely find objects faster than beginners with GoTo, because they are not troubleshooting. The skill takes perhaps a dozen sessions to become comfortable and a season to become fluent, which is a modest investment for something that never expires.
Setting up for the hop
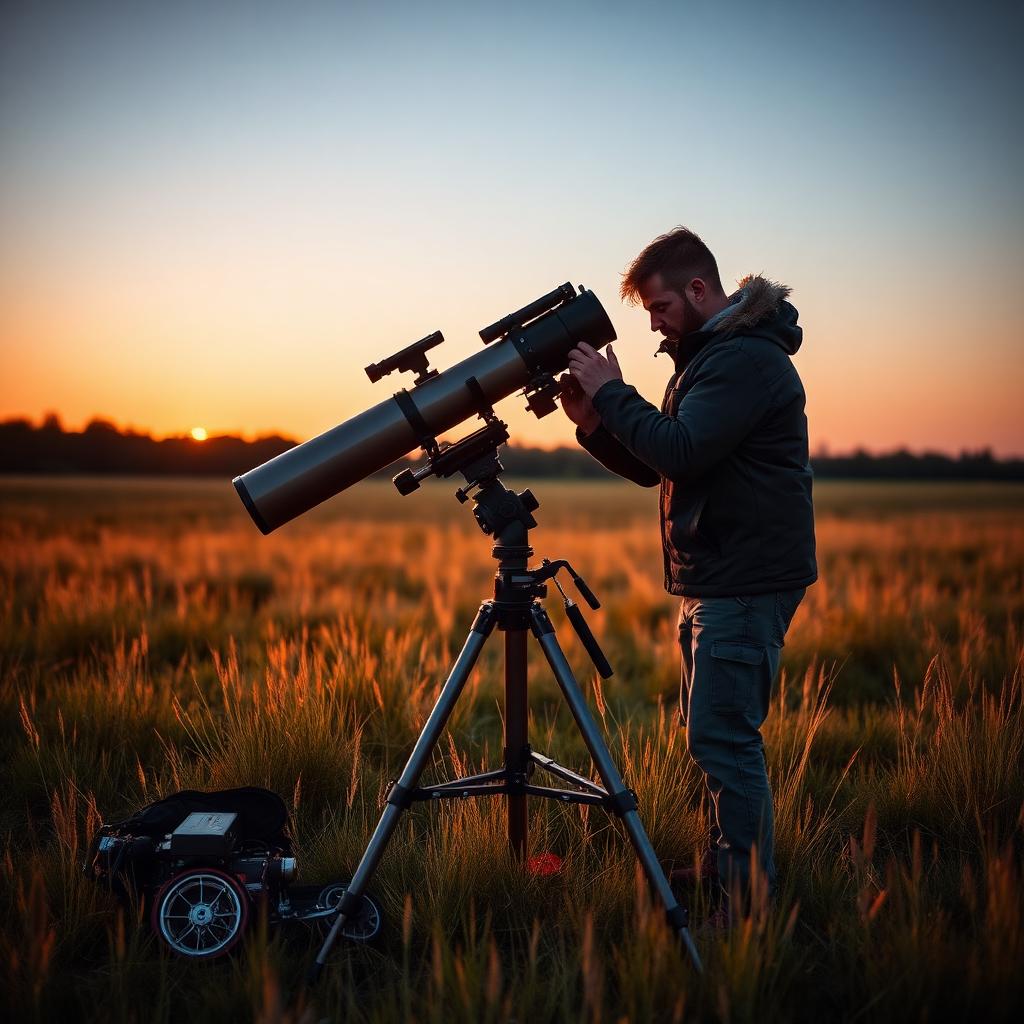
First, measure your true field of view at low power, then draw a circle of that diameter on your charts. This one step converts star hopping from guesswork into geometry: you can see at a glance whether the next hop is one field or three. Use your lowest-power, widest eyepiece for the search and only increase magnification once the object is centred. A right-angle correct-image finder, or better a unit-power reflex sight such as a Telrad, removes the neck-breaking contortions that make people give up.
Second, get your charts to the right scale. A whole-sky planisphere is useless for hopping and a deep atlas showing magnitude 11 stars is overwhelming; something plotting stars to magnitude 7 or 8 is the sweet spot for a finder. Keep the chart oriented to match the sky rather than north-up on your lap, and accept that a Newtonian's view will be rotated and a refractor with a star diagonal will be mirror-flipped. Knowing which distortion your setup imposes prevents a great deal of confusion.
A worked example: M13
Find the Keystone of Hercules, a lopsided quadrilateral of four moderately bright stars high in the summer sky between Vega and the head of Draco. Its western side runs between Eta Herculis at the top and Zeta Herculis at the bottom. M13 sits directly on that line, roughly one third of the way down from Eta towards Zeta. That is the entire hop: two naked-eye stars and a fraction.
Point your finder at that spot and, from a reasonably dark site, a small round glow will already be visible in the finder itself. At low power in the eyepiece it is an obviously non-stellar ball with a granular edge; push to 150x or more on a steady night and the outer regions resolve into hundreds of individual stars, with three dark lanes converging near the core that observers have called the propeller since the nineteenth century. Roughly half a million stars, twenty-two thousand light years away, seen with your own eye.
Averted vision and honest expectations
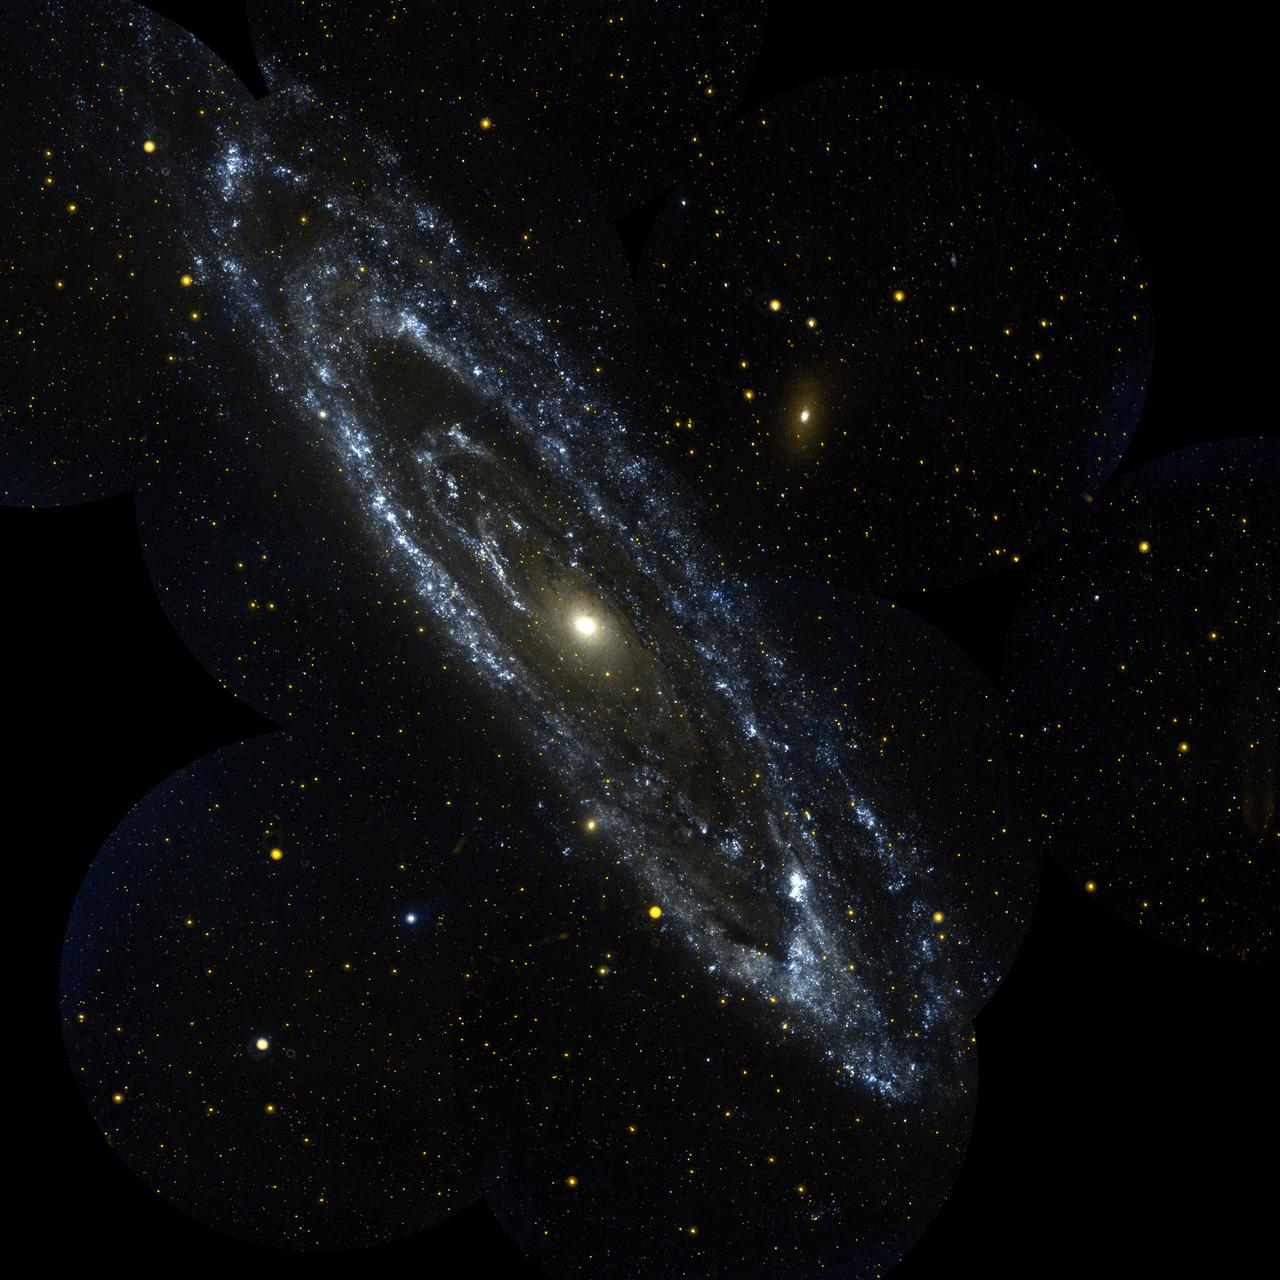
Manage your expectations about galaxies before your first attempt, or you will conclude your telescope is broken. Visually, M51 is a faint grey oval with a brighter core, not the spiral in the photographs; the spiral arms need a large aperture and a dark sky. This is not a defect. You are catching photons that left before humans existed, and the fact that they are faint is the whole point. Observers who make peace with this early tend to stay in the hobby.
Learn averted vision, which sounds like folklore and is solid physiology: look slightly to one side of a faint object so its light falls on the rod-rich periphery of your retina rather than the cone-rich centre. Faint detail will appear and vanish as you shift your gaze. Gently tapping the telescope tube helps too, since motion triggers a different detection pathway. Then sketch what you saw and log the date and conditions. Ten years later, that notebook will be the most valuable piece of equipment you own.