Chasing Aurorae: Space Weather for Amateur Observers
Aurora forecasting is genuinely predictable a few hours ahead and nearly useless a week ahead. Which numbers matter, why Bz is more important than Kp, and how to photograph the result.
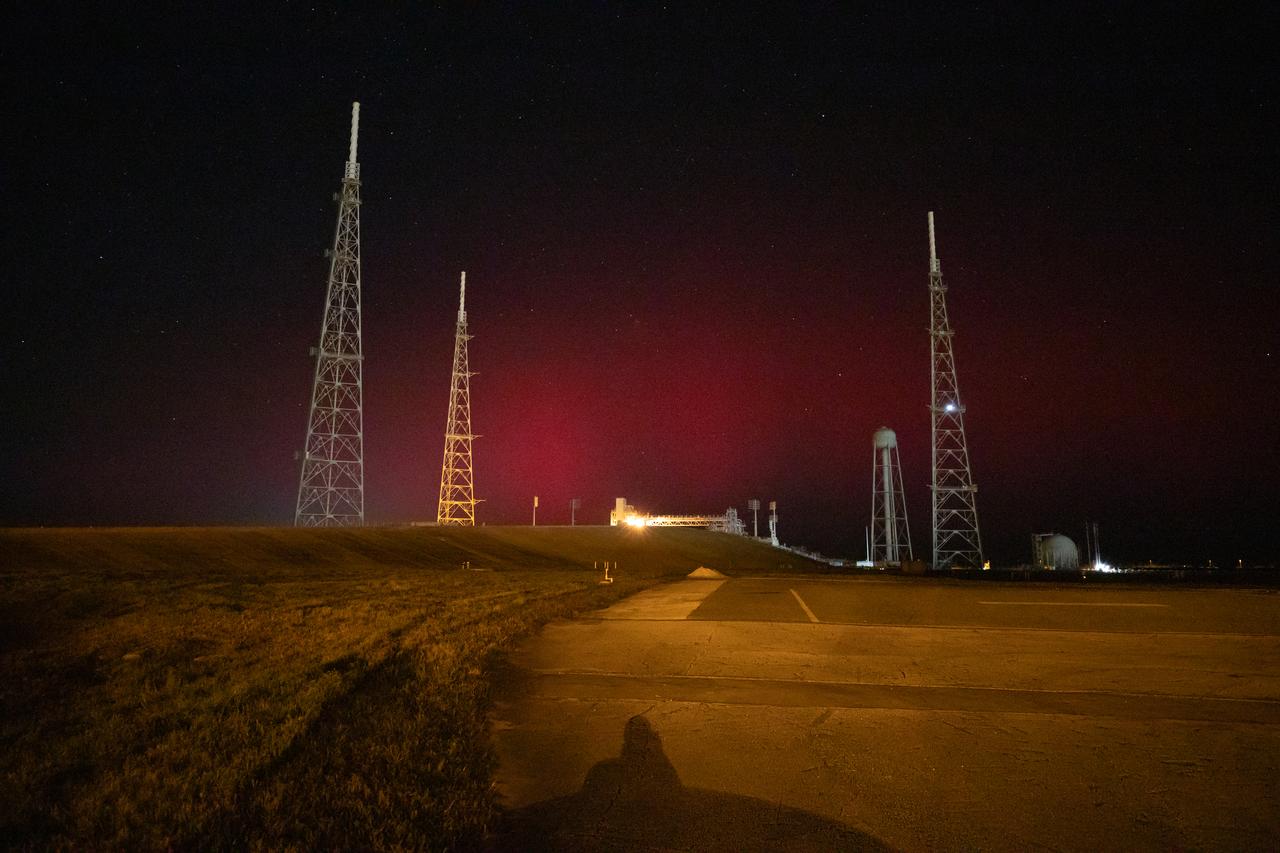
The aurora is the one astronomical spectacle that refuses to be scheduled. Eclipses are predicted centuries ahead, meteor showers arrive on the same dates every year, and planetary oppositions are in the almanac. Aurorae are weather — driven by a star that does not consult anyone — and the honest summary is that forecasts beyond about three days are close to worthless, while forecasts an hour ahead can be remarkably good.
That asymmetry shapes how you chase them. You cannot book a week off and expect success in the way you can for an eclipse. What you can do is understand the mechanism well enough to recognise a promising setup, subscribe to the right alerts, and be organised enough to get out the door within twenty minutes when the numbers turn. Most people who say they have never seen an aurora from an auroral latitude simply were not watching on the right night.
What actually causes the lights
The Sun continuously sheds a stream of charged particles called the solar wind. Two things intensify it: coronal mass ejections, which are explosive eruptions of billions of tonnes of plasma that arrive one to three days later, and coronal holes, which are open magnetic regions producing fast, steady streams that recur with the Sun's rotation. When the arriving magnetic field is oriented favourably it reconnects with Earth's magnetosphere, dumping energy into the polar regions.
That energy accelerates electrons down the field lines into the upper atmosphere, where they collide with atoms about 100 to 300 kilometres up. Atomic oxygen produces the familiar green at 557.7 nanometres and a deeper red at 630 nanometres from higher, thinner altitudes; molecular nitrogen contributes blues and purples, often along the lower fringes of a curtain. The shapes you see — arcs, bands, rays, and the sudden chaotic breakup of a substorm — are the magnetic field structure made visible.
Reading the indices without a physics degree
Kp is the number everyone quotes and the least useful for real-time decisions. It runs from 0 to 9, is a planetary average, and is published in three-hour blocks, meaning it tells you what already happened rather than what is happening. Use it for rough geography only: Kp 5 puts the oval within reach of Scotland and the northern United States, Kp 7 pushes it towards central Europe and the mid-latitude states.
What matters minute to minute comes from spacecraft parked at the L1 point about 1.5 million kilometres upstream, currently DSCOVR and ACE. They measure the arriving solar wind roughly 30 to 60 minutes before it reaches us. Watch three things: Bz, the north–south component of the interplanetary magnetic field, which needs to be strongly negative — southward — for efficient coupling; Bt, the total field strength; and solar wind speed, where anything above 500 kilometres per second is promising. A sustained Bz of −10 nanotesla or lower with elevated speed is a far better signal than any Kp figure. NOAA's OVATION model then renders the predicted oval on a map so you can see whether it reaches your latitude.
Field craft for the hunt
Choose a site with a genuinely open northern horizon and no town in that direction, because from mid-latitudes the display often sits low and a single distant streetlit village will erase it. A moonless night helps but matters less than for deep sky work, since a bright aurora easily outshines moonlight. Check the ordinary weather forecast as carefully as the space weather one; cloud has ended far more aurora hunts than weak solar wind.
Then be patient in the right way. Auroral activity comes in substorms that build, explode, and fade over roughly half an hour to ninety minutes, so a quiet sky at midnight says little about one o'clock. To the dark-adapted eye a faint aurora often looks like a motionless grey cloud that refuses to drift with the wind — that is your cue, and a ten-second test exposure will confirm it in colour long before your eye does. Dress for two hours of standing still in the cold, which is considerably colder than two hours of walking.
Photographing it properly
Use the widest and fastest lens you own, ideally 14 to 24 millimetres at f/2.8 or better, on a solid tripod. The most common mistake is treating an aurora like a static starfield and shooting 20 or 30 second exposures: a moving curtain smears into a featureless green wash. Start around 2 to 4 seconds at ISO 1600 to 3200 for an active display, and extend to 8 or 10 seconds only for faint, slow arcs. Shoot raw, and set white balance manually near 3800K rather than leaving it on auto, which will fight the colour all night.
Focus manually before dark falls or on a bright star using live view at maximum magnification, then tape the focus ring so it cannot drift. Turn off long-exposure noise reduction, which doubles your shooting time for little benefit at these durations. Keep spare batteries in an inside pocket, since cold halves their capacity, and include something terrestrial in the frame — a treeline, a ridge, a building — because an aurora photograph without a horizon gives the viewer no sense of the scale of what you stood under.