An Honest Introduction to Deep Sky Astrophotography
What deep sky imaging really involves, why the cheapest possible mount will sabotage the most expensive camera, and a step-by-step plan for your first successful photograph of a galaxy or nebula.
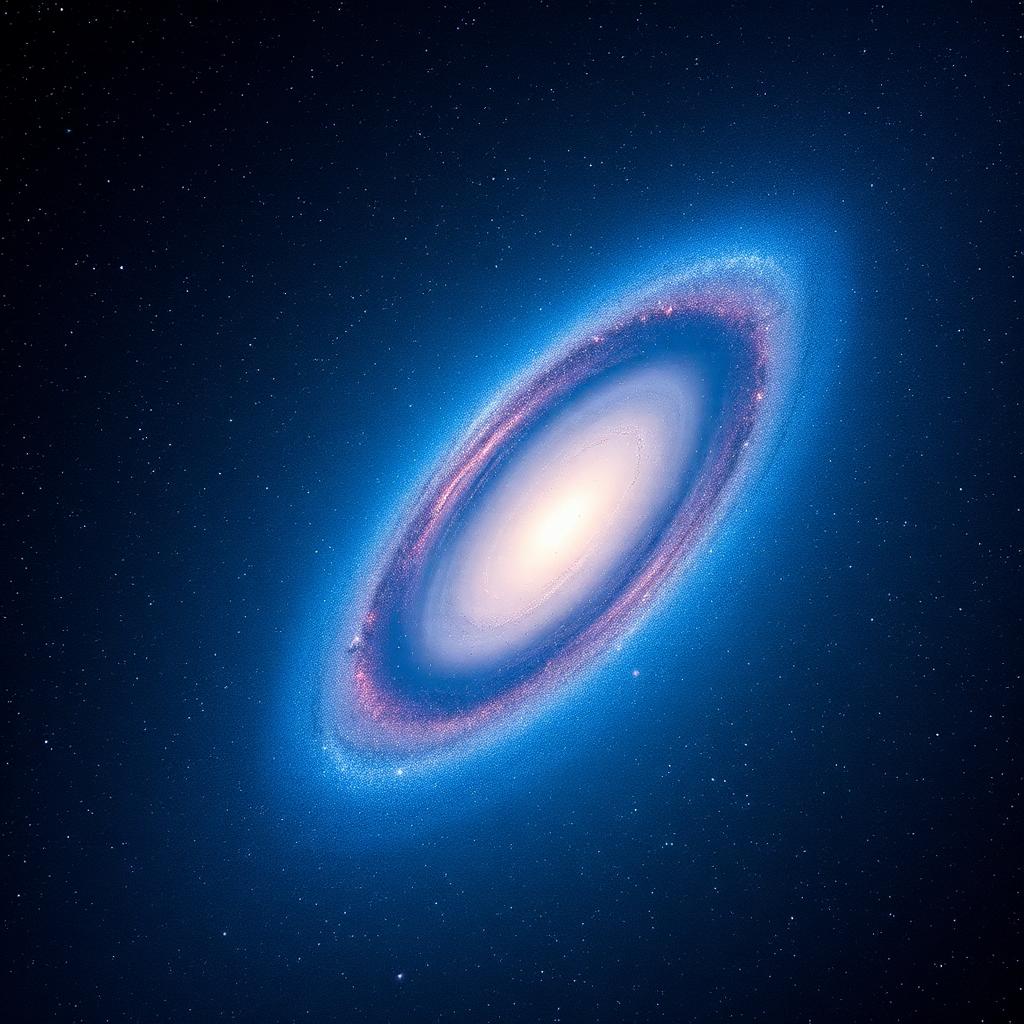
Deep sky astrophotography, the art of imaging galaxies, nebulae, and star clusters, is the most rewarding and the most humbling branch of amateur astronomy. It rewards planning and technique the way music rewards practice. It is also the branch where beginners spend the most money on the wrong equipment because glossy magazine covers hide an ecosystem of expensive supporting hardware nobody photographs.
Before spending anything, understand the fundamental challenge: deep sky objects are extremely faint and extremely small. You will not be capturing them in a single exposure the way you capture a landscape. You will be stacking dozens or hundreds of separate frames, each of them tracked accurately to compensate for the Earth's rotation, then combined and processed in dedicated software. If you accept that from the start, everything else falls into place.
The mount is 70% of the picture
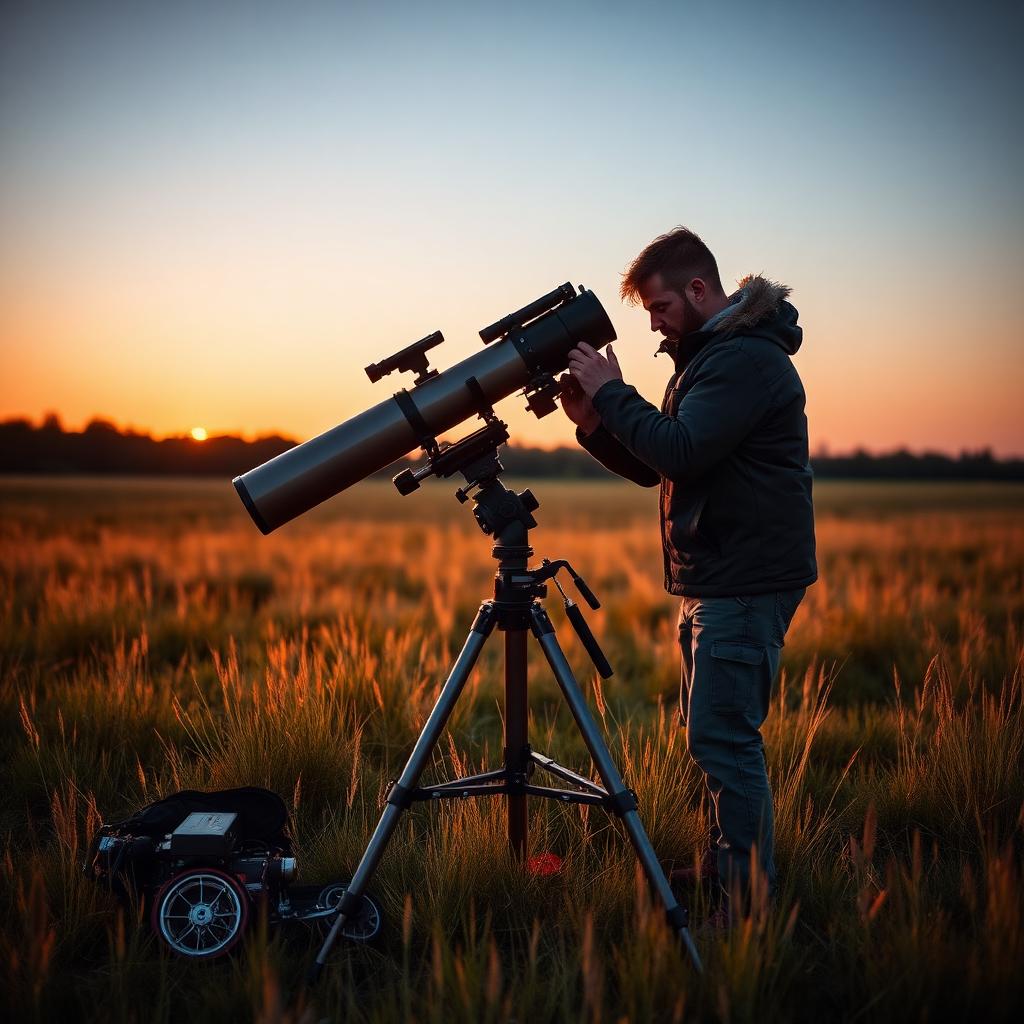
A single sentence saves many careers: the mount is the most important piece of astrophotography equipment. Not the telescope, not the camera, the mount. Deep sky imaging requires guiding the target with arcsecond precision over exposures of one to several minutes, sometimes for hours in a single night. Only a solidly built equatorial mount with quality gears and, ideally, autoguiding can do this.
A common mistake is buying a large telescope on a mount rated for its weight in visual use but hopelessly overloaded for imaging. As a rule of thumb, load an imaging mount to no more than half of its listed capacity. The good news is that a modest 60 to 80mm refractor on a solid mount will produce vastly better images than a large scope on a wobbly one, and this combination is where every serious imager begins.
Camera choices without confusion
You have three viable camera routes. An unmodified DSLR or mirrorless camera is the cheapest way in and produces beautiful images of star fields and bright nebulae. A modified DSLR, with its infrared cut filter removed or swapped, dramatically improves sensitivity to red hydrogen-alpha emission, the dominant colour of most nebulae. A dedicated cooled astro-camera, either monochrome or one-shot colour, offers the lowest noise and the finest control, at the cost of complexity and price.
Start with what you already own. A camera you know how to operate quickly at night in the dark is worth more than an unfamiliar top-tier sensor. When you understand your workflow, you will know exactly which camera upgrade will move your images forward, rather than guessing based on YouTube reviews.
Your first target and workflow
The Orion Nebula, M42, is the traditional first target and remains the correct choice. It is bright, structurally rich, forgiving of tracking errors, and photographs beautifully even from suburban skies. Take a series of 30 to 60 second exposures at your camera's native ISO or gain, plus a matching number of dark frames (lens cap on, same duration) and a set of flat frames to correct vignetting.
Stack these frames in free software such as Siril or DeepSkyStacker. The result will look flat and grey on first inspection; the magic happens in stretching. Stretching non-linearly reveals the faint outer nebulosity while keeping the bright core from clipping. A first successful image is a genuine emotional moment, especially the moment you realise you personally captured photons that travelled 1,300 years across space.
The long game
Astrophotography rewards long attention spans. A serious image of a galaxy might combine ten hours of exposure across three or four nights, plus another five hours of processing. This is completely different from taking a photograph in the ordinary sense. Treat each imaging session as a small research project with defined goals and you will progress faster than randomly chasing whatever is up on a given night.
Keep a session log. Note weather, target, exposure lengths, guiding performance, and what you would change next time. Over a year, this log becomes the single most valuable piece of astrophotography education you can own; it is entirely tailored to your equipment, your sky, and your habits. Nobody else can write it for you, and nobody else will benefit from it as much as you will.